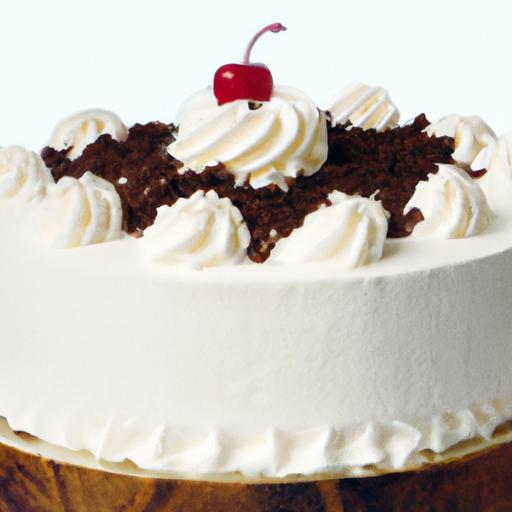
Ther’s something magically nostalgic about vanilla ice cream cake-a harmonious blend of creamy simplicity and celebratory flair that delights both the eye and the palate. Whether it’s a birthday centerpiece or a sweet ending to a special meal, this classic treat carries the timeless charm of vanilla while inviting endless creativity in its layers and textures.In “The Sweet Scoop: Crafting the Perfect Vanilla ice Cream Cake,” we’ll explore the art and science behind this delectable dessert, uncovering tips, techniques, and inspiration to help you build your own flawless, melt-in-your-mouth masterpiece. Get ready to scoop,layer,and freeze your way to confectionery perfection!
The Sweet Scoop: Crafting the perfect Vanilla Ice Cream Cake
vanilla Ice Cream Cake is a timeless dessert,and choosing the right vanilla bean is the secret that transforms a simple sweet treat into an indulgence bursting with deep,aromatic flavor. The smooth creaminess,balanced textures,and elegant layering make every slice a celebration. Whether you’re crafting this for a festive occasion or a beloved family moment, mastering these techniques ensures your creation will be as delightful to the eyes as it is indeed to the palate.
Prep and Cook Time
Preparation: 30 minutes
Freezing time: 6 hours (or overnight)
Total time: 6 hours 30 minutes
Yield
Serves 10-12 generous slices
Difficulty Level
Medium – perfect for confident home bakers looking to polish their freezing and layering skills
Ingredients
- 2 whole Madagascar vanilla beans, split and seeds scraped
- 2 cups heavy cream, chilled
- 2 cups whole milk
- 3/4 cup granulated sugar
- 5 large egg yolks
- 1 tsp pure vanilla extract
- 1/2 cup crushed shortbread cookies (for base)
- 2 tbsp unsalted butter, melted (for base)
- Whipped cream for frosting
- Edible gold flakes and vanilla bean pods for decoration
Instructions
- Prepare your base: Combine the crushed shortbread cookies with the melted butter. Press this mixture evenly into a 9-inch springform pan to form a firm crust. chill in the freezer while making the ice cream base for a crisp, buttery foundation.
- Extract maximum vanilla flavor: In a medium saucepan, pour the milk and heavy cream. Add the split vanilla beans and scraped seeds, then warm the mixture on medium heat until just simmering. Remove from heat and let steep for 30 minutes, allowing the vanilla beans to infuse deeply.
- whisk together yolks and sugar: In a separate bowl, beat the egg yolks with granulated sugar until pale and thickened, about 2-3 minutes. This step is crucial to achieving the perfect creamy texture without graininess.
- Temper your yolks: Slowly drizzle about 1 cup of the hot vanilla-infused cream into the yolk mixture,whisking constantly to avoid curdling. Then pour this combined mixture back into the saucepan.
- Cook custard base: Return saucepan to medium-low heat and cook, stirring constantly, until the custard thickens slightly and coats the back of a spoon (170°F/77°C). Remove promptly from heat to prevent overcooking.
- Strain and cool: Pour custard through a fine mesh sieve into a clean bowl to remove vanilla bean pods and any cooked bits. Stir in the vanilla extract. Cover surface with plastic wrap and refrigerate until fully chilled, at least 4 hours or overnight for best results.
- Churn for creamy perfection: Freeze custard base in your ice cream maker according to product instructions.The key is not to over-churn-stop when the ice cream is thick but not too firm,preserving creamy softness.
- Layer the ice cream cake: Remove the crust-lined pan from the freezer. Spoon half of the vanilla ice cream over the base, smoothing carefully. Freeze for 1 hour until firm. Repeat layering with remaining ice cream. This method creates a gorgeous,stable cake structure with distinct layers.
- Finish with frosting and accents: Whip fresh cream until soft peaks form and spread evenly over the top and sides of the frozen cake. Garnish with edible gold flakes and whole vanilla bean pods for an elegant finish. Freeze at least 2 hours before serving.
Tips for Success
- Selecting vanilla beans: Opt for plump, oily madagascar beans with a strong fragrance. Avoid dry or brittle pods-they lack depth of flavor.
- Ingredient temperature: chill dairy and eggs well before starting to ensure smooth custard formation and prevent separation.
- Layering note: Freeze each ice cream layer firmly before adding the next to maintain structural integrity.
- Make-ahead: Prepare the ice cream base a day before and assemble the cake on the day of serving for optimal flavor development.
- Substitution: For a dairy-free version, use coconut milk and a vegan egg substitute, but note texture will be slightly different.
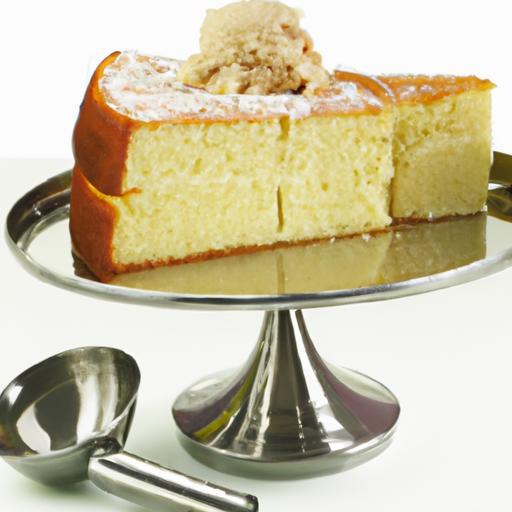
Serving Suggestions
Serve each slice chilled on a white porcelain plate to enhance the soft vanilla hues. Accentuate with a drizzle of warm dark chocolate sauce or a fresh berry compote for a contrast of flavors. A sprig of fresh mint or edible flowers will add a delicate pop of color and elevate the cake’s refined presentation.

Nutrition per Serving
| Calories | Protein | Carbohydrates | Fat |
|---|---|---|---|
| 320 kcal | 5 g | 28 g | 20 g |
discover more about decadent vanilla ice cream desserts to expand your culinary repertoire. For in-depth vanilla bean sourcing tips,visit VanillaBean.com.
Q&A
Q&A: The Sweet Scoop – Crafting the Perfect Vanilla Ice Cream Cake
Q1: What makes a vanilla ice cream cake different from a regular cake?
A1: unlike conventional cakes that rely solely on baked layers, a vanilla ice cream cake is a harmonious marriage of creamy, frozen indulgence and moist cake layers. The texture contrast between cold, smooth ice cream and soft cake creates a delightful sensory experience, making every bite both refreshing and comforting.
Q2: How do you choose the best vanilla ice cream for the cake?
A2: Quality is key! Opt for ice cream made with real vanilla beans or pure vanilla extract rather than artificial flavoring. The richer and creamier the ice cream, the better it will hold its shape and flavor during freezing.Full-fat vanilla ice cream not only tastes heavenly but also ensures a luscious texture that doesn’t turn icy.
Q3: Can you bake the cake layers ahead of time?
A3: Absolutely! In fact, baking your cake layers a day or two in advance gives them time to cool fully and develop stable texture. Wrap them tightly to maintain moisture. Having your cake layers ready means assembly is a breeze, and you can focus on perfecting the ice cream layer without rush.
Q4: what’s the secret to assembling a flawless ice cream cake?
A4: Patience and preparation! Line your cake pan with parchment paper or plastic wrap to help with easy removal. Softening the ice cream slightly before spreading helps achieve an even layer. Remember to freeze each layer thoroughly before adding the next to maintain sharp,clean edges. This frozen layering is what gives the cake its signature neat appearance.
Q5: How can I decorate the cake without melting the ice cream?
A5: Work swiftly in a cool environment. Use chilled tools and decorate with elements that won’t melt on contact, like crushed cookies, chopped nuts, or fresh berries. For frosting, whipped cream or buttercream works best when applied in a thin layer and frozen quickly afterward. Avoid heavy handling to keep your masterpiece intact.
Q6: Is it possible to make this cake vegan or dairy-free?
A6: Definitely! Choose plant-based vanilla ice creams made from coconut milk, almond milk, or cashew milk. Pair them with a vegan cake base using flax eggs or applesauce as binders.With a little creative tweaking, everyone can enjoy this frozen treat without compromising on flavor or texture.
Q7: What’s the best way to serve vanilla ice cream cake?
A7: Serve slices straight from the freezer onto chilled plates to avoid melting.Let it sit at room temperature for 3-5 minutes to soften slightly for the perfect fork-tender bite. Pair with fresh fruit coulis, a drizzle of chocolate sauce, or a sprinkle of sea salt to elevate the flavor profile.Q8: Any tips for avoiding common pitfalls?
A8: Keep these in mind: avoid letting the ice cream get too soft during assembly to prevent soggy cake layers; freeze the cake overnight for best slicing results; and slice with a warm, sharp knife dipped in hot water for clean edges. With practice, your vanilla ice cream cake will be a showstopper at every celebration!
Crafting the perfect vanilla ice cream cake is a blend of art and science – a cool canvas waiting for your creativity. Follow these sweet secrets, and you’ll scoop your way to dessert glory every time!
Future Outlook
As you wrap up your journey into the world of vanilla ice cream cakes, remember that this timeless treat is more than just a dessert-it’s a canvas for creativity and a celebration of simplicity. Crafting the perfect vanilla ice cream cake blends the smooth richness of creamy vanilla with the satisfying crunch of your favorite layers,resulting in a symphony of textures and flavors. Whether you’re marking a special occasion or indulging in a sweet moment of self-care, mastering this delicious art promises endless joy in every bite. So go ahead-take these tips, sprinkle in your own flair, and let your vanilla ice cream cake become the sweetest scoop of your culinary repertoire.