In a world where bite-sized delights reign supreme, mini muffin pans have quietly become the unsung heroes of baking bliss. These petite powerhouses transform humble ingredients into irresistibly charming morsels bursting with flavor and creativity. Whether you’re craving a sweet morning pick-me-up, a savory snack, or a festive party favor, mini muffin pans deliver big taste in a perfectly portioned package. Join us as we dive into the ultimate guide to mini muffin pans-exploring tips, tricks, and tantalizing recipes that prove great things truly do come in small packages.
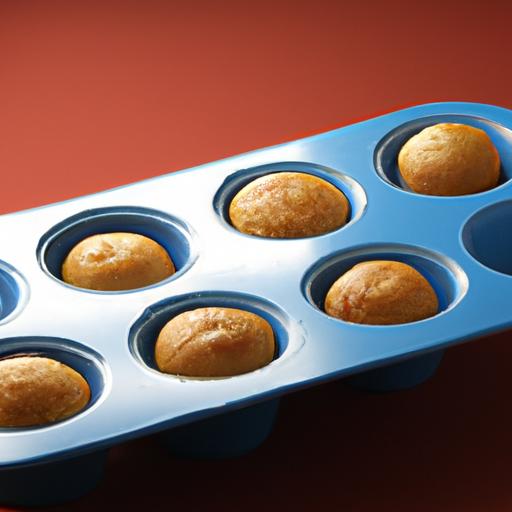
Tiny Treats, Big Flavor begins with choosing the right mini muffin pan-a key element that transforms sweet or savory bite-sized delights into perfectly textured treasures. Whether you’re hosting a brunch, prepping for a party, or simply indulging in a fast snack, the ideal pan enhances heat distribution and nonstick performance, helping you master those irresistibly fluffy mini muffins every time.
Prep and Cook Time
- Preparation: 10 minutes
- Cooking: 12-15 minutes
- Total Time: 25 minutes
Yield
24 mini muffins
Difficulty Level
Easy
Ingredients
- 1 1/4 cups all-purpose flour, sifted
- 1/2 cup granulated sugar
- 1/2 teaspoon baking powder
- 1/4 teaspoon baking soda
- 1/4 teaspoon fine sea salt
- 1/2 cup sour cream or Greek yogurt
- 1/3 cup unsalted butter, melted and cooled slightly
- 1 large egg, room temperature
- 1 teaspoon pure vanilla extract
- 1/4 cup milk (whole or 2%)
- 1/2 cup fresh blueberries (optional) or mini chocolate chips
Instructions
- Preheat your mini muffin pan at 350°F (175°C). Lightly grease each cup with butter or use a high-quality nonstick spray to ensure easy release.
- In a medium bowl, whisk together sifted flour,sugar,baking powder,baking soda,and salt until evenly combined.
- In a separate bowl, whisk melted butter, sour cream (or Greek yogurt), egg, vanilla, and milk until smooth and creamy.
- Gently fold the wet ingredients into the dry mixture just until combined-avoid overmixing to preserve tenderness. the batter will be thick and slightly lumpy.
- Carefully fold in blueberries or chocolate chips to add bursts of flavor.
- Spoon batter into each mini muffin cup, filling about 3/4 full for perfect domed tops.
- Bake for 12-15 minutes, or until the tops are golden and a toothpick inserted in the center comes out clean.
- Cool in the pan for 5 minutes before gently removing to a wire rack to cool entirely.
Tips for success
- For even baking, let your mini muffin batter sit at room temperature for 10-15 minutes before filling the pan-this helps maximize the rise.
- Use a mini ice cream scoop for uniform sizing and less mess when filling each cup.
- If you prefer lighter texture,substitute half the all-purpose flour with cake flour to yield extra fluffiness.
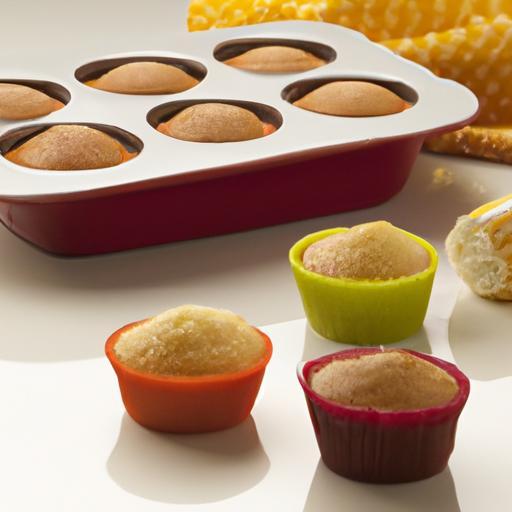
- Nonstick silicone or anodized aluminum pans provide easy release,but if using stainless steel,a thin layer of melted butter plus dusting with flour can prevent sticking.
- Prepare your mini muffin pan the night before by greasing it and storing in the fridge; this adds an extra layer of preparation for busy mornings.
Serving Suggestions
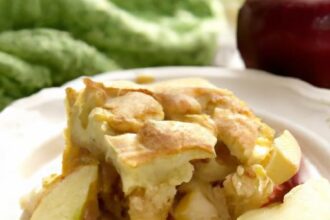
Serve these tiny treats warm or at room temperature, ideally adorned with a dusting of powdered sugar or a light brush of honey glaze to amplify their charm. pair them with a dollop of whipped cream or mascarpone and fresh berries for an elegant brunch display. For savory variants, complement bites with herbed butter or cream cheese spreads, perfect for cocktail parties or afternoon teas.

Nutritional Details (per mini muffin)
| Calories | Protein | Carbs | Fat |
|---|---|---|---|
| 90 kcal | 2 g | 13 g | 3.5 g |
For those inspired to further explore the nuances of bakeware, the King arthur Baking Company’s expert guide offers invaluable insights on selecting bakeware that elevates every recipe.
Discover more mini muffin recipes and expert tips by visiting our Bite-Sized Delights series for endless inspiration and flawless mini treats.
Q&A
Q&A: Tiny Treats, Big Flavor: The Ultimate Guide to Mini Muffin Pans
Q1: What makes mini muffin pans so special compared to regular muffin pans?
A1: Mini muffin pans are like the pocket-sized superheroes of the baking world! Their small cavities create perfectly bite-sized treats that are crisp on the edges and fluffy inside. Plus, thay bake faster, allowing you to enjoy your sweet (or savory) creations in a flash. Whether it’s for a party, snack time, or a dainty dessert, mini muffin pans bring a playful charm and versatility that larger pans simply can’t match.
Q2: Can I use my favorite muffin recipes when baking in mini muffin pans?
A2: Absolutely! However, since the tiny wells hold less batter, you’ll want to reduce the baking time-usually about half compared to regular muffins. Keep a close eye towards the end, and use the toothpick test to avoid overbaking. Mini pans are perfect for experimenting, so feel free to tweak the recipe or try new mix-ins without committing to a full batch!
Q3: What kinds of treats can I make in mini muffin pans besides muffins?
A3: The possibilities are delightfully endless! Mini muffin pans double as molds for bite-sized quiches, cheesecake bites, brownie nuggets, and even savory apps like meatball sliders or stuffed peppers. You can create everything from sweet indulgences to party-pleasant finger foods-all perfectly portioned for sampling and sharing.
Q4: How do I prevent mini muffins from sticking to the pan?
A4: Non-stick mini muffin pans are a blessing, but to ensure flawless release, a light brush of oil or a spray of baking spray works wonders.You can also line each cavity with mini cupcake liners if you prefer fuss-free cleanup. For cast iron or aluminum pans, a thorough greasing is key to keeping your tiny treats intact and camera-ready.
Q5: Are mini muffin pans good for portion control and healthy snacking?
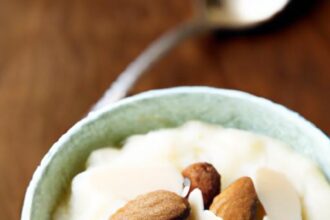
A5: Definately! their small size encourages mindful eating by offering bite-sized portions perfect for snacking. Plus, you can load each muffin with wholesome ingredients-think blueberries, zucchini, oats, or nuts-making mini muffins a nutritious and satisfying treat without the guilt of oversized servings.
Q6: What features should I look for when buying a mini muffin pan?
A6: Look for even heat distribution-heavy-gauge aluminum pans are great for this. Non-stick coatings make cleanup easier and release smoother. Also, consider the number of cavities: 24 is standard, but some pans offer 12 or 48 wells depending on your baking goals. Lastly, sturdy construction and easy handling make the baking experience more enjoyable.
Q7: Can I freeze mini muffins directly in the pan?
A7: It’s better to let your mini muffins cool completely, then freeze them in an airtight container or freezer bag. This prevents moisture buildup and sogginess. However, if you have a silicone mini muffin pan, you can often freeze the batter directly in the pan for homemade frozen treats or to bake fresh when needed.
Q8: Any creative tips to elevate mini muffin baking?
A8: Try swirling in unexpected flavors like a dash of espresso powder or a sprinkle of sea salt on top for contrast. Add texture with streusel or crushed nuts before baking. Experiment with drizzling tiny muffins with glazes, or sandwich two together with frosting for pint-sized cupcakes. The mini muffin pan is your tiny canvas-get playful and watch big flavors unfold!
Tiny treats truly pack a punch, and with the ultimate guide to mini muffin pans, your kitchen adventures can be both creative and delicious. Ready, set, bake!
Key Takeaways
Whether you’re a seasoned baker or just starting your culinary journey, mini muffin pans open up a world of delightful possibilities. These petite powerhouses transform ordinary ingredients into bite-sized bursts of flavor, perfect for everything from breakfast bites to party pleasers. As you master the art of tiny treats, you’ll discover that big flavor doesn’t need a big pan-it just needs a little creativity and the right tools.So,gather your favorite recipes,preheat that oven,and let your mini muffin pan be the secret ingredient to your next delicious adventure. Happy baking!